Blog, HDR, Tips, Urbex

Multiplicity- The making of ‘We are one’

Some people have been asking me about how I went about producing this shot, so I’ve finally got round to doing a post on it.

About a year ago (almost to the day) during an urban exploration shoot I took a series of photographs to create a sort of surreal image of a bunch of sinister looking figures ascending the main staircase. That sinister figure was to be me in that ever popular urbex accessory, the gas mask. I had been to this location once before and between visits I was pondering different ways of making an interesting picture. Having knowledge of the location I knew exactly where to place the camera and though my initial thought was to have me on each step, I decided that it would probably become too cluttered and so decided to stand on every other step instead. It wasn’t until a couple of months later that I would actually attempt to put all the shots together.

People have been doing multiplicity shots for years and I think it’s something everyone tries out at some time or another. The process itself is actually quite straight forward, though it can become rather time-consuming depending on how many people you want in the final result. As with any kind of photography it always works best if you have a decent idea or point to the picture rather than doing one for the sake of the process, if that makes sense.

So here’s how to do it.

First set up the camera on a tripod and switch the camera to manual exposure mode as you want consistent exposures throughout the shots, then set the shutter to remote self timer. Next is choosing where to focus and what aperture you’ll want. You’ll most probably be using a wider angle so you’ll be able to get away with a much more shallow depth of field, this will in turn increase the shutter speed and help to avoid recording any unwanted movement, especially in lower light situations such as in my shot. In this shot I decided that I wanted to have the focus primarily of the figure facing the camera, so with the autofocus still on and remote in hand I took a test shot standing in the centre of the scene. Once this shot was taken I went back to the camera and switched the focus to manual thus keeping it focused in the right place. So now we have the camera in total manual control so each of the shots exposure and focus will be exactly the same. This is very important when it comes to merging them all together later. Then I just had to get into position, press the shutter (on timer) and as soon as I heard it click move to the next position, and so on.

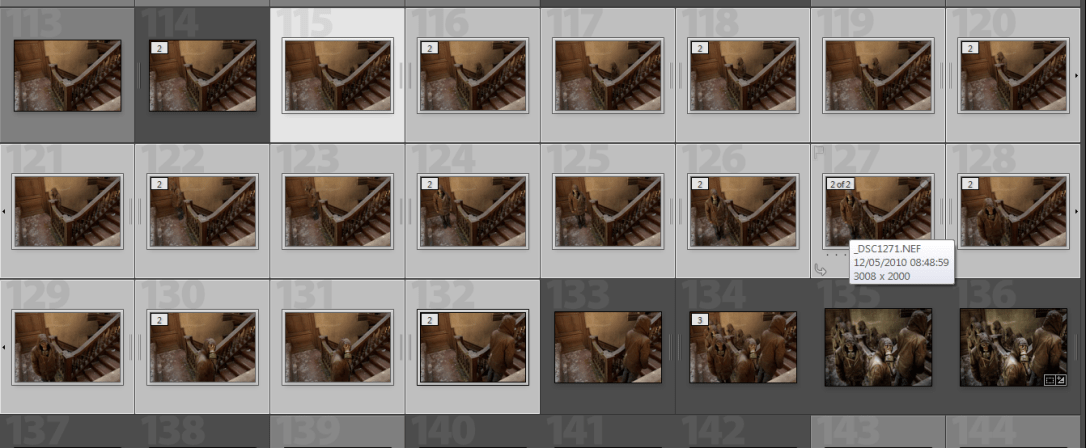
So what you’ll end up with is a series of shots as you see in the picture above.

At this point I did no processing at the RAW stage, we want to keep total consistency and so I merged the shots before doing any post processing in terms of  exposure or colour etc. The next this is to bring the shots into Photoshop or similar software with a layers capability. You can bring them all in at once or, as I did, bring only a couple in at a time. This was just for my own benefit so I didn’t get confused.

If you have overlapping people then make sure you have the layers set so that the furthest figure is set as the bottom layer (to unlock a background layer just double click on it, a box will appear, just click OK). Click on the top layer and reduce the opacity to around 60%, you should now see both figures as in the picture above. Zoom in as much as you like and grab the eraser tool then start to rub through over your figure. Try to be as careful as you can but if you slightly go over the edges it shouldn’t matter too much as all your shots are exposed the same. Of course you can always go back a step with the history palette.

Once you’ve revealed all of your figure change the opacity back to 100% and checking it all looks good, right-click on the top layer and merge the layers. Bring in the next image as a layer and repeat the process.

Tip: If you have all your images in the project bin (as seen here in Photoshop Elements9) you can simply drag an image onto the main one to add as a layer.

Once all ten of my images were together I then imported them back into Lightroom to make my tonal adjustments and a slight crop to tighten the composition. In addition to this I decided to tonemap it in Photomatix to give added drama and grunge. You can see the difference in the thumbnails on the lower right in the middle shot.

And there you have it. This has probably been my most well received shot to date and I was very happy indeed when it was chosen ‘Best image’ at the Sussex Federation DPI competiton this year.

I hope this has been of some use to some of you, I know there are a number of tutorials out there on this subject but this is how I go about it.

Thanks for looking and happy shooting.
Blog, Mono, Urbex

Mono Monday-Time to reflect

Title-‘Time to reflect’

This is a shot that I’ve been sitting on for quite a while not really knowing what to do with. I originally took two shots, one with me as you see by the window, and another with me leaning against the wall in the corridor. The intention was to combine the two as a multiplicity picture, however, after a few attempts I found that it wasn’t quite working the way I had envisioned so I gave up and put the idea to one side. Approaching it a few months later with a fresh head I decided that using just one of the shots in black and white would suit the scene better. Perhaps having all this technology at our fingertips can sometimes cloud our judgement. Taking a more straight forward approach every now and then could possibly result at a better solution.

Blog, HDR, Urbex

Art Alley

‘Art Alley’ HDR 3exp +/-2EV ISO200 Sigma18-50mm EX f2.8. Photomatix, Lightroom and Photoshop Elements used.

Another shot from round the back of the public library, only this time taken further back. A fair bit has gone into working on this one, mainly in terms of desaturating all of the brickwork and then bringing the colours back into the graffiti. Another thing I chose to do was to correct the perspective as my low camera position and wide angle led to some converging verticals, a process easily done in Photoshop using the transform tool.

On another note; the Holga Nikon mount lens I ordered last Friday has been delayed due to to an ‘unexpected amount of orders’ . Hopefully it won’t be too long before I receive it, I’ll think I’ll do a mini review. A perfect excuse to get out with the camera.


Blog, HDR, Holga, Urbex

We all die in the end+New Holga lenses

‘We all die in the end’. HDR 3exp +/-2EV iso800 for added grain. Produced using Photomatix and Lightroom.

So, two subjects in one post. I think I can pull it off.

Going back through some more recent shots I came upon a set of brackets that I was really rather taken with, and instantly though of giving the picture a more sombre muted look. Sometimes a scene will give you a certain feel that if the natural colours were kept, that feel would be lost, at least to a certain extent. I particularly like using muted colours, it’s  something you also see done a lot in modern war movies, which helps with the overall impact.

Now; being the sort of chap who’s a bit of a fan of gritty/grainy pictures, both in colour and black and white, I was rather pleased to read that camera manufacturer Holga has now produced a lens with both Canon and Nikon mounts. And they so cheap too, meaning that unless you’re a stickler for tack sharp images, then there’s absolutely no reason not to own one of these. There has been a big surge in recent times towards older film based cameras that give less than perfect results, and yet they somehow manage to evoke a look and feel that appeals to a lot of us photographers. Some of the look Holga images have is down to how the film is processed too, but I think this is a good compromise for those who do not wish to go back to using film.  I ordered mine yesterday and I’m counting the minutes till it drops through the letterbox. In addition to this, the new Holga lenses are fully compatible with their current range of lens accessories. I’m really looking forward to getting that Holga look straight out of the camera rather than having to mimic it in Photoshop or plug-in filters; the same reason I bought my Lensbaby Muse not so long ago. Watch this space!

Blog, Urbex

Restraint

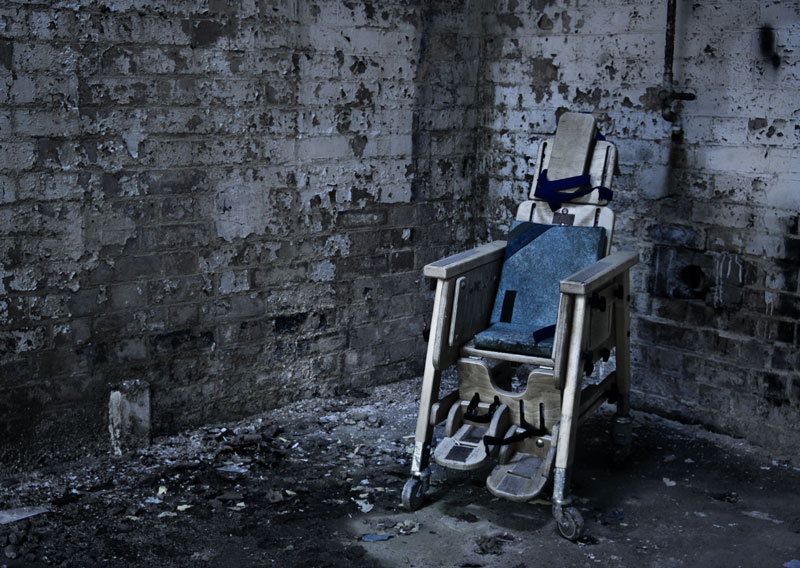
I found this shot whilst going through my old pictures from Hellingly hospital and decided to process it differently to how I had done previously. I believe the chair was used to restrain disabled children during meal times to make life easier for both patient and staff, if anyone is more knowledgeable than I then feel free to leave a comment as to its proper use. Coming across an item like this in a derelict hospital does pull at the heart strings however and it was a feeling that I thought was best brought out by setting the white balance to fluorescent to give a more blue, sombre look. After that I then desaturated and darkened the brickwork to help pull the viewer straight toward the chair.

Olson (version 3) by Boards of Canada seems to fit the sentiment while viewing this photo.

Blog, Urbex

Memories of Hell Pt4

So here we are at my last tribute to Hellingly hospital. I will always have fun memories of sneaking into and walking around the many wards and corridors, and am glad that myself and many others got a chance to record and make so many great pictures.

Every now and then I like to add a little something to make a picture either fun of thought provoking, usually involving me somewhere in the frame. The shot above (taken April 08) was my first attempt. Seeing this children’s area gave me an idea to pop on the ol’ gas mask to give the scene a post apocalyptic feel, well that was the idea anyway. I work with dangerous chemicals so we have these gas masks on site, giving me easy access to a now very popular urbex prop.

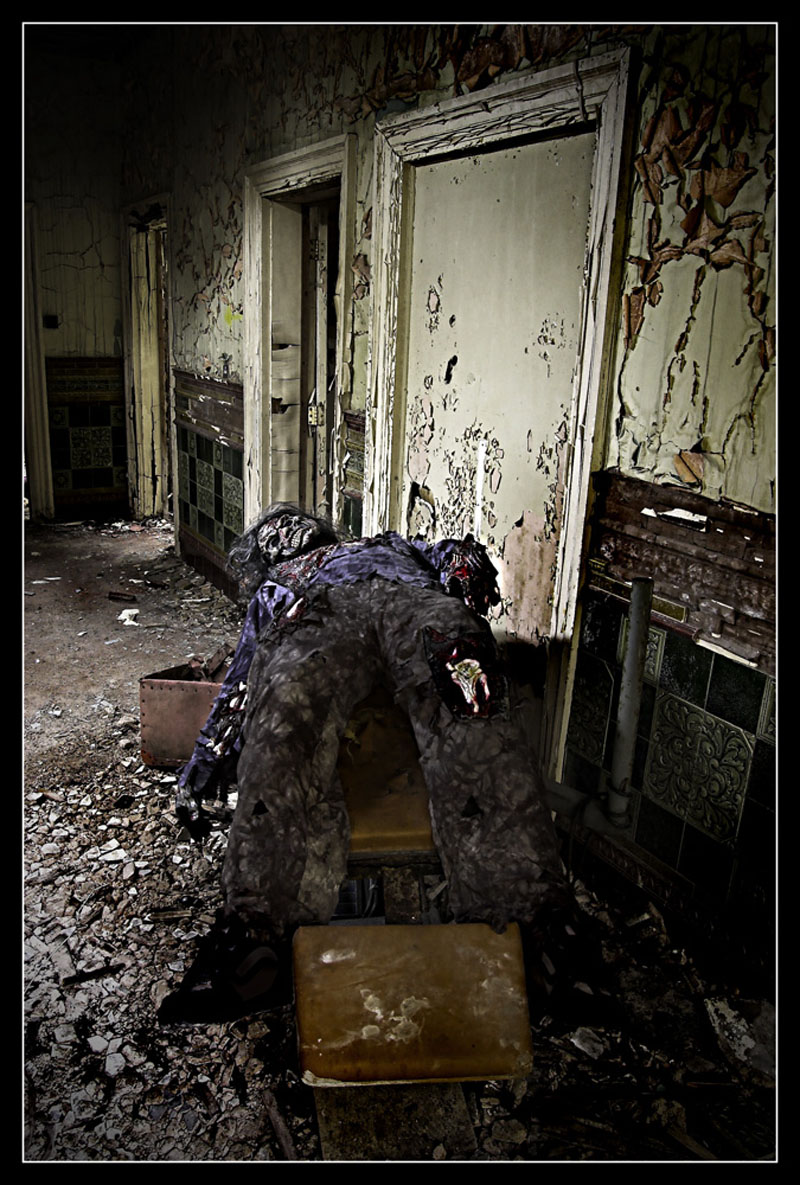
(Above) I decided to have a bit more fun using a zombie costume that I had for a fancy dress party…No point in it sitting on top of the wardrobe collecting dust.  I ended up posting this pic for Halloween on Flickr and the over the top grunge look was achieved by using my colour/mono layer blend technique. Fun but silly. 🙂

A merry Urbex Christmas!

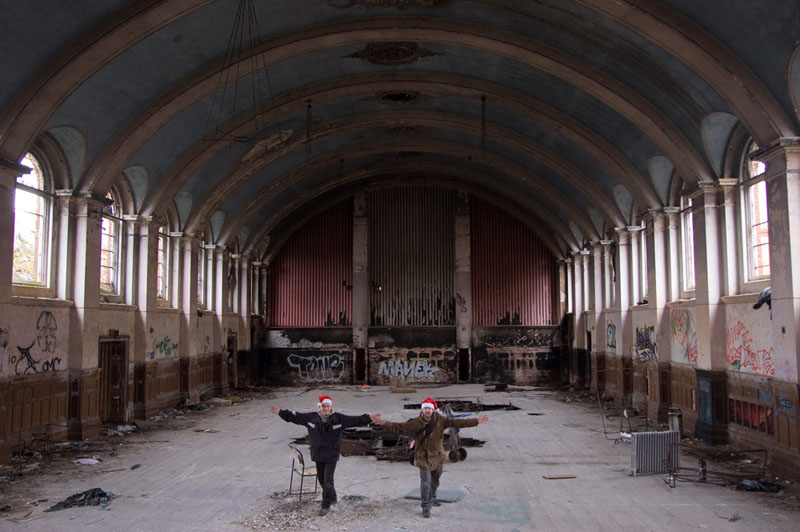
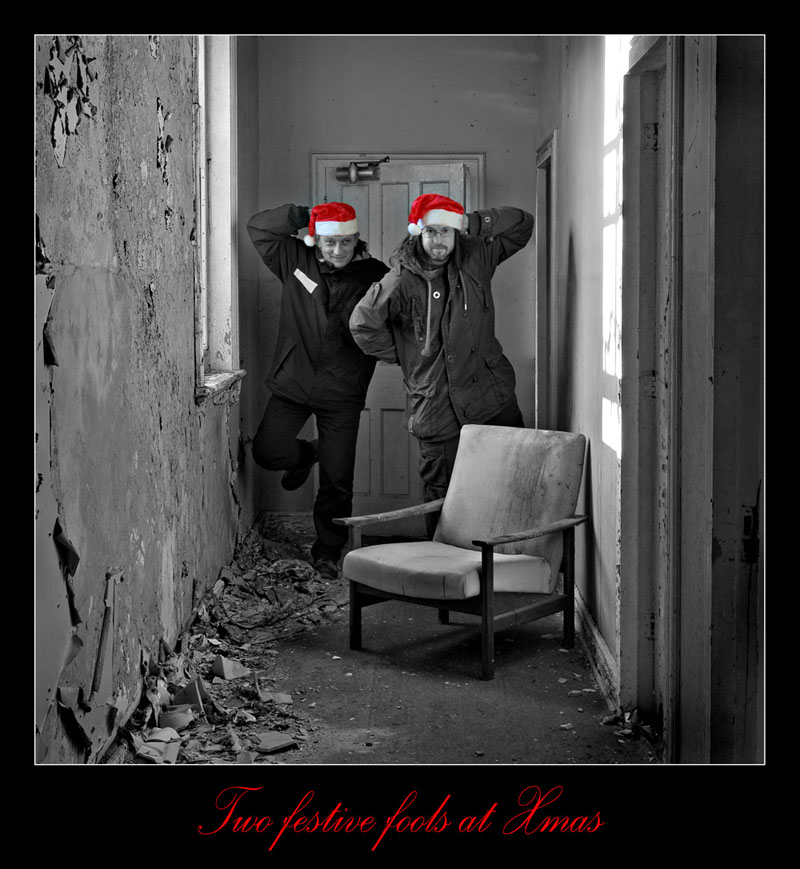
My friend Rob (on left) and I took another visit during December 09 and both came up with a the silly idea of getting a couple of Xmas hats to pose in. I thought doing a shot of us in the main hall looking like a couple of fools would be a fun shot and something I could post as an online Xmas card to all my fellow Urban exploration friends. Then I made another in one of the corridors.

Rob(left) Me(right) doing a Morcambe and wise pose. It was so cold that day.

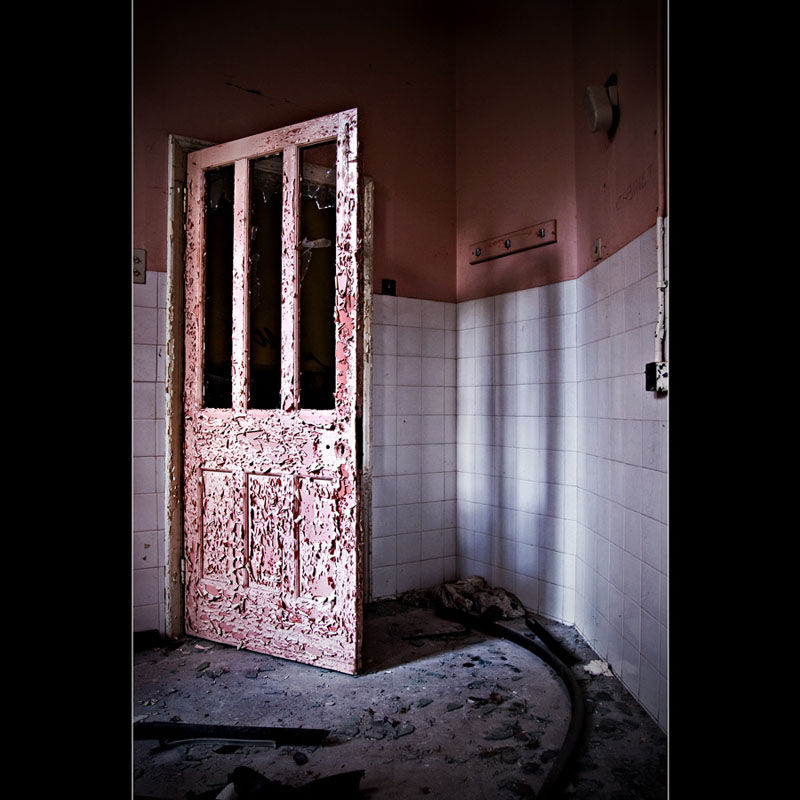
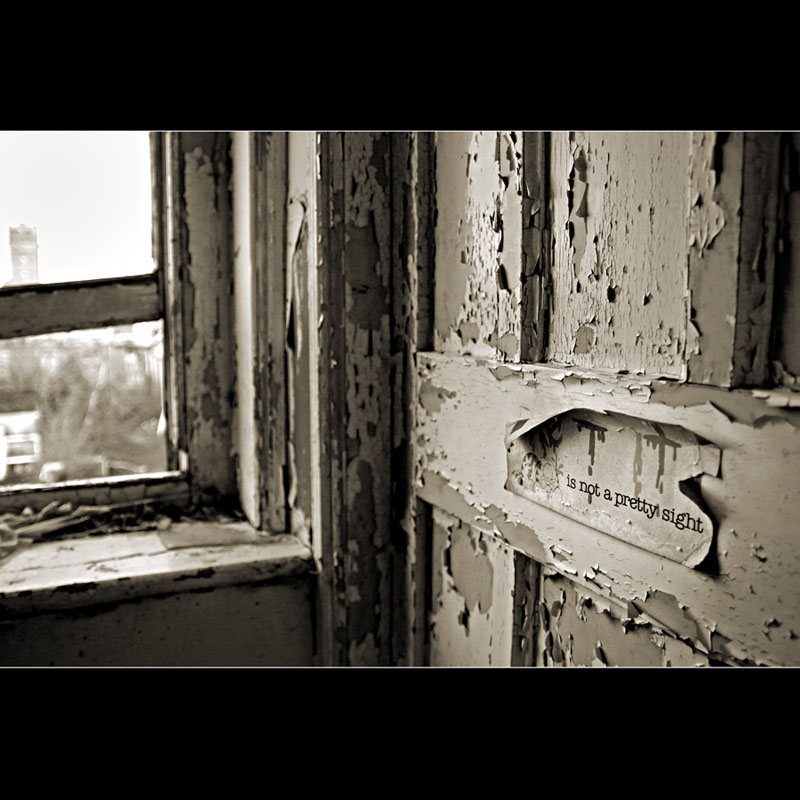
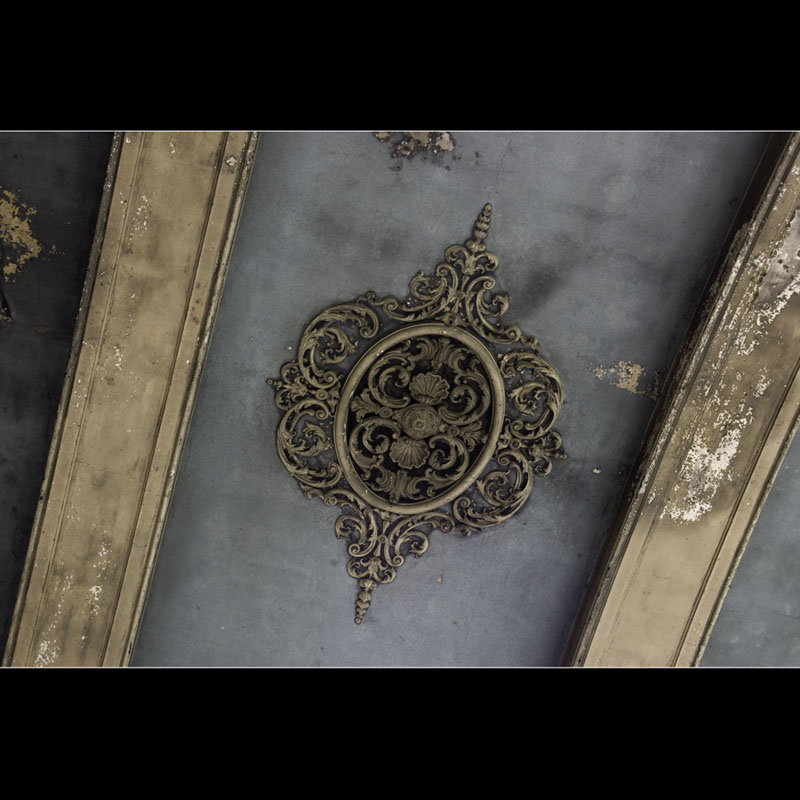
So I’ll round off this post with just a few more ‘normal’ shots. Goodbye Hellingly, you’ll be missed.

Thanks for looking.