Blog, Flora, Landscapes, Tips

Blur,Spin,Zoom!

And now for something completely different…from me at least.

DSCF9560-Edit

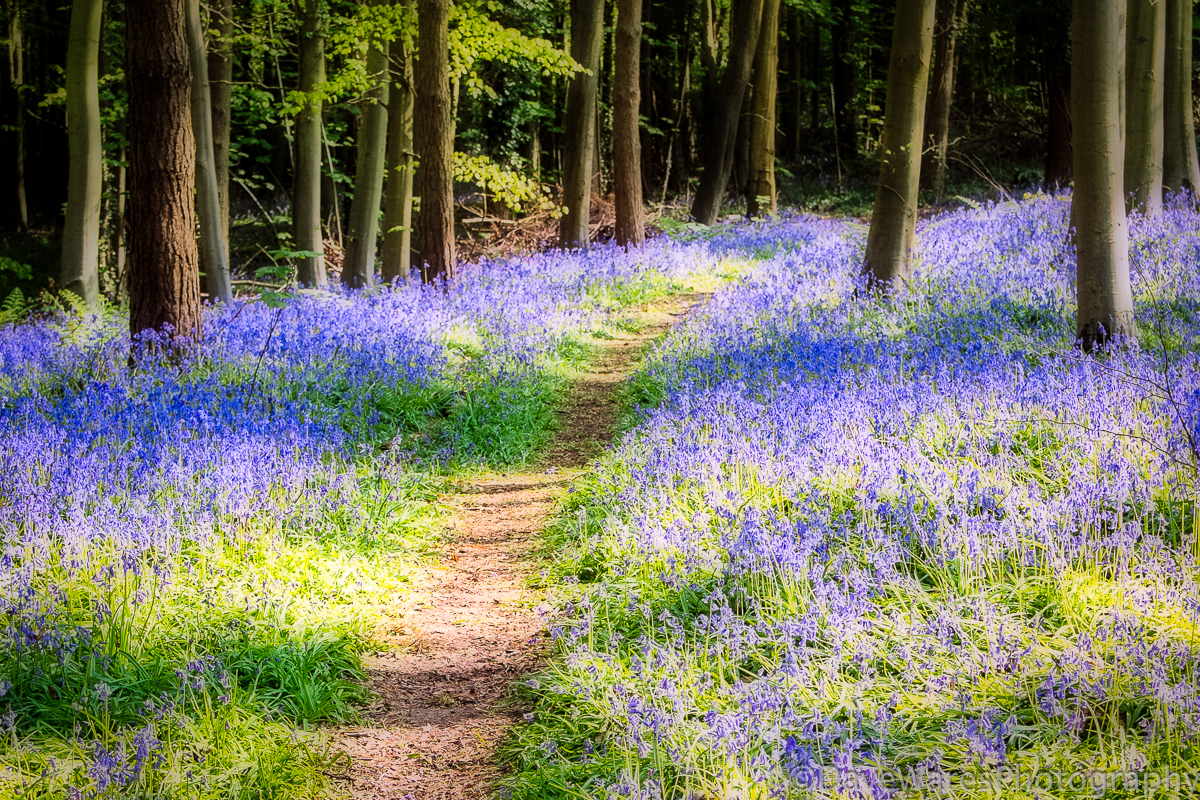
I spotted this carpet of bluebells on my way to work yesterday morning, so I stopped to take a few shots. Having got home I started to think about how I wanted to present this particular image, to me it just seemed a bit ordinary as a straight shot. I thought popped into my head about applying the Orton treatment, something I’ve not done in quite some time. For those unfamiliar it’s basically taking two versions of the same scene, one in focus and the other blurred, then sandwiching them together to create a more painterly look. Click on the highlighted word to go to a Photoshop tutorial. After a bit more fiddling around in Lightroom I ended up with what you see here.

The next two shots are the results of experimenting with moving and zooming the camera and lens during the exposure, it’s very hit and miss. To achieve this I basically needed to set the camera to give the longest shutter speed available given the bright condition. For this I set the ISO to 100 and the aperture to f11, the smallest on my Fujifilm X10 compact.

DSCF9566

For the shot above I simply rotated the camera very quickly as I pressed the shutter.

DSCF9574

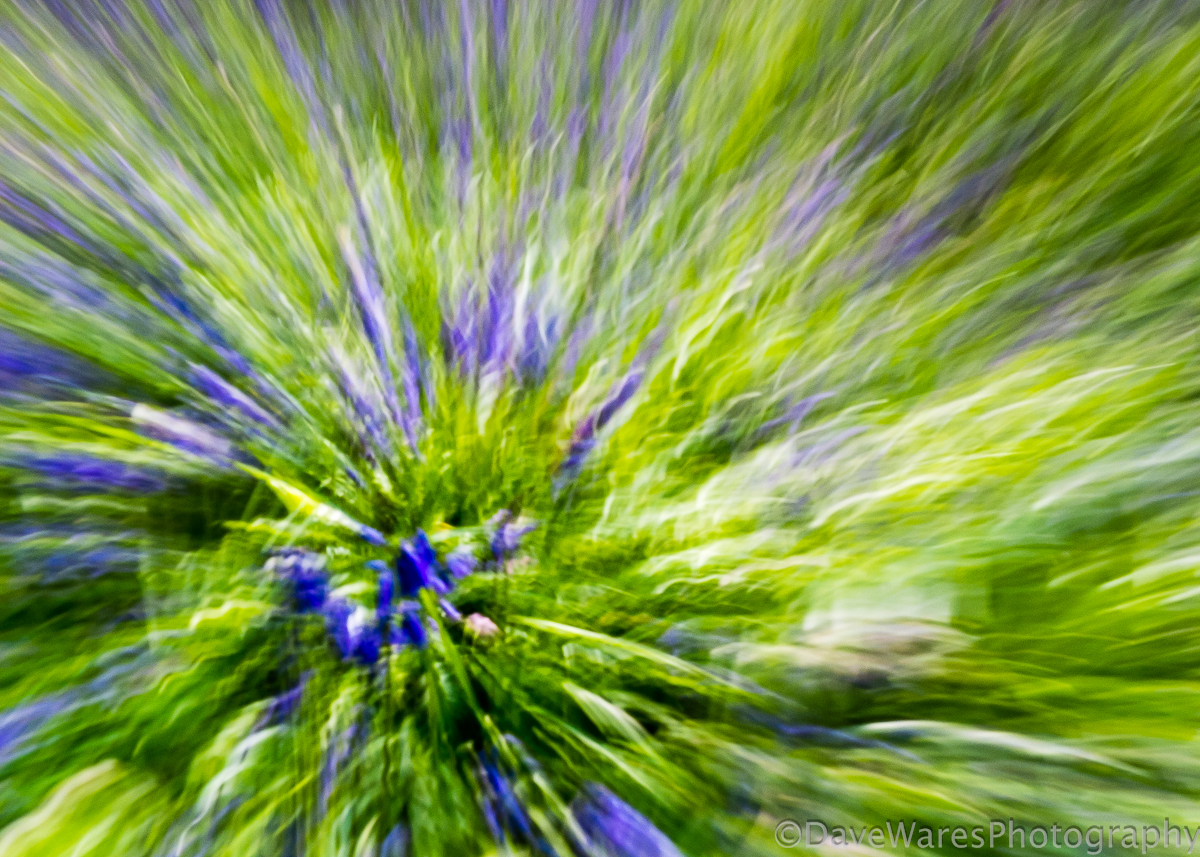
For this shot I quickly zoomed the lens as I pressed the shutter. I took this (and the others) handheld and as a result the wobbly movement has created wavy patterns which to me look like an exploding firework.

Definitely something different to my usual style but fun to have a go at.

Thanks for stopping by.

Blog, Mono

Ringmaker

This selection of photos formed part of a series that was produced for a client wanting a record of their old gold being made into a new ring. The original set are in colour but here I’ve chosen to show them in black and white as I think it helps to give a more timeless feel to the story.

DSCF3635-Edit

Melting of the old gold.

DSCF3616-Edit

After milling out, the gold is then annealed.

DSCF3641-Edit

Shaping and soldering together.

DSCF3621-Edit

Rounding up.

DSCF3644-Edit

Filling in preparation for two further bands to be soldered on either side. The ring is to have a white gold centre with yellow gold outer rings.

DSCF3650-Edit

Soldering together.

DSCF3654-Edit

A pre-polish before adding a groove ( next photo)

DSCF3655-Edit

Adding the final detail. The ring was then given a final polish and the white band was rhodium plated.

I hope you like this series, I thought it would be nice to show something a bit different.

All shots were taken on my Fujifilm X10 and processed in Topaz B&W Effects 2 and Lightroom 5.4

Thanks for stopping by.

Blog, Mono, review, Tips

Topaz Detail 50% discount

DSCF8950-Edit

A new month and a new offer from the good folks at Topaz Labs. This month they are offering 50% off their “Detail” plugin.

As its’ name suggests, Topaz Detail helps to really bring out the shapes and textures in your images but in a way that doesn’t overly enhance noise. Think of it like using the clarity slider in Lightroom, only achieving the effect to an even greater degree. Take a look at the examples below, both are produced from the same RAW file shot on my Fujifilm X10 camera: Both images have had the exact same Lightroom adjustments applied but the left image has also been put through Topaz Detail. There is a good range of built in presets with varying looks that range from soft focus through to harsh punchy detail. In this example I used one of the mid-range presets and I think the results are pretty obvious.

Screenshot 2014-04-11 08.29.32

Both examples at 100% zoom.

Screenshot 2014-04-11 08.30.02

If this is something that you think would benefit your workflow then just follow this link and make sure you enter the code “aprdetail” when you checkout. This offer will be available until the end of April.

Thanks for stopping by.