Blog, Landscapes, Mono

Mono Monday- Seaside sweep

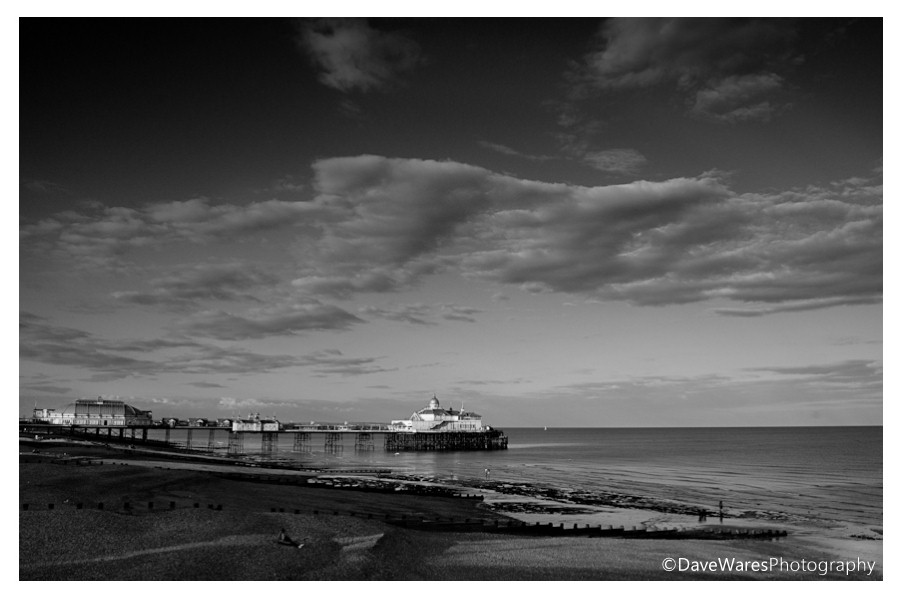
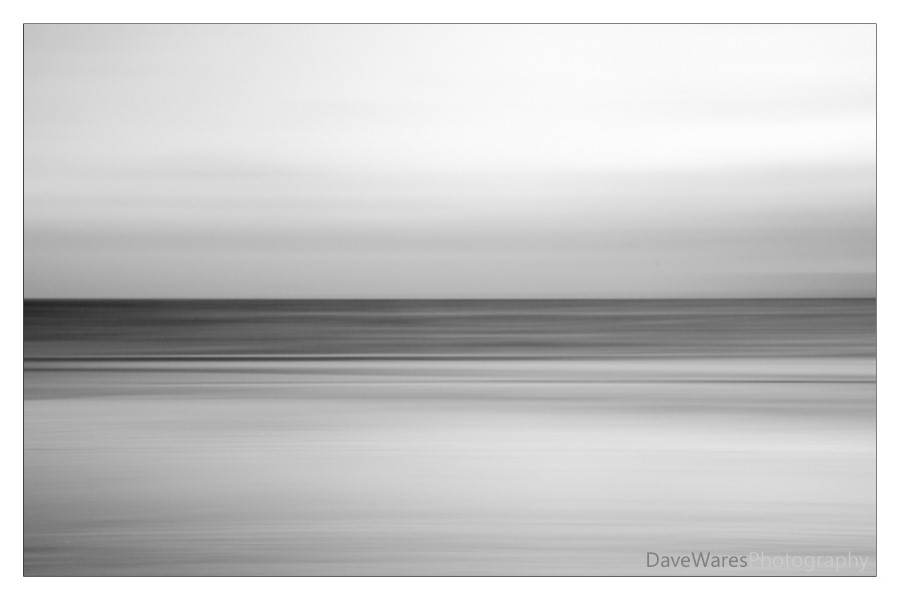
Title-‘Seaside sweep’

I’ve gone with a rather minimalist shot for today’s Mono Monday. This was taken at Birling Gap on the same evening as the previous post but at the end of the shoot just before we hit the pub. The light we had hoped for withered away leaving us with not much more than a drab grey sky, however, I thought I’d try to create some abstract shots by panning the camera during a longish exposure. I took about half a dozen in total with this being the most successful.

I was going to keep it as a colour photograph until I saw a recent post from my good pal Brian Matiash. Brian has been experimenting with minimalism in mono lately, and this prompted me to see how this shot would turn out if I did something similar. I think I actually prefer this to the original colour one, so cheers Brian!

For those interested I hand held the camera, panning it during a half second exposure at f22, iso200.

Blog, HDR, Landscapes

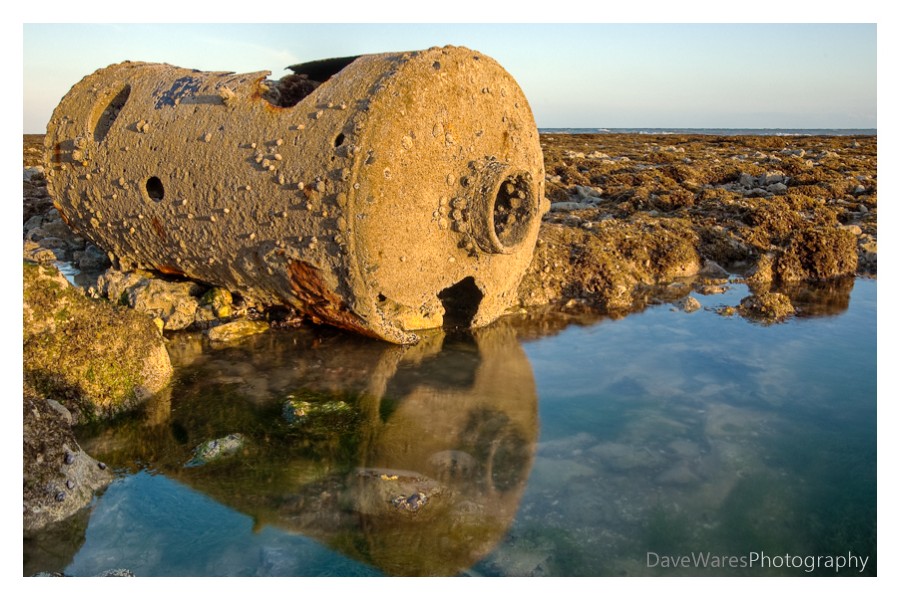
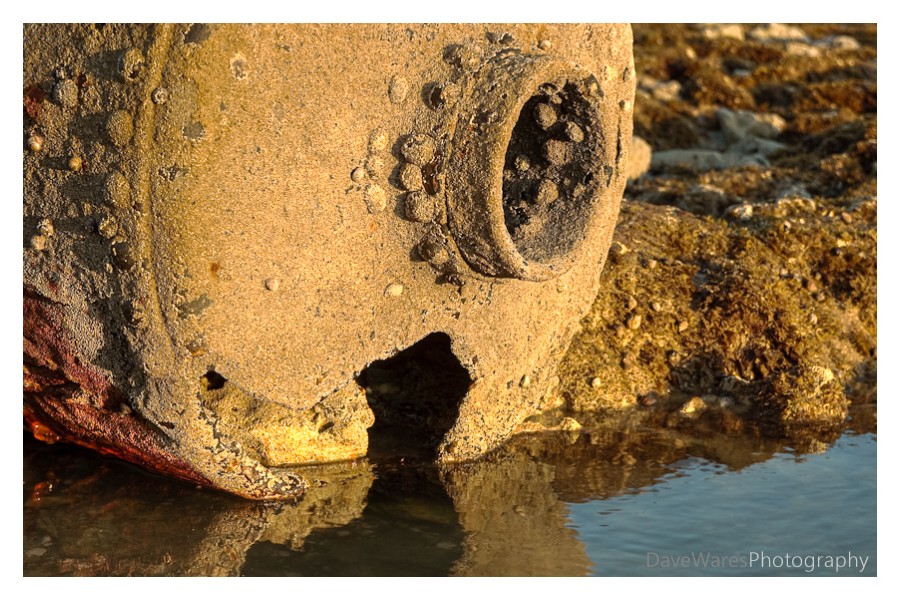
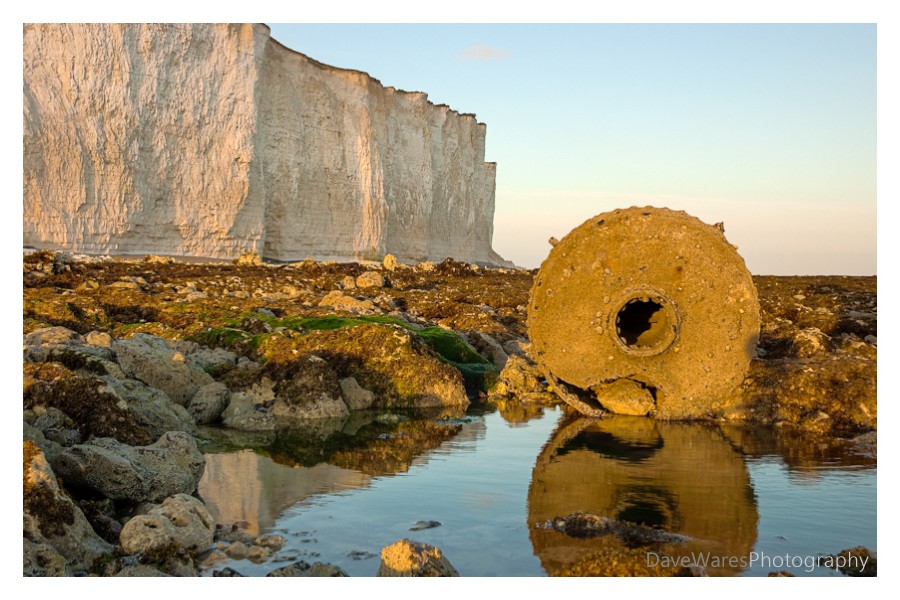
Old Buoy at Birling Gap

Last Tuesday I met up with my cousin Steve and his friend Graham for a spot of photography down at Birling Gap. The tide was set to be going out during our evening and so would maximise our opportunity for getting some nice shots both before and after sunset. The weather had different plans though and was changing every couple of hours, though this was not a problem as it had the potential to produce a lot of different lighting situations for us to work with. In the end it just turned a flat grey with all the atmosphere disappearing, however, when we arrived there was a lovely slightly golden colour to the light, though it was rather windy. We decided that it was perhaps a little too bright to start taking pictures towards the sun and so we started walking in the opposite direction looking for shots. After a short while the three of us had spread out to look for our own shots which is when I spotted this old buoy in the distance ( thought at the time I wasn’t exactly sure what it was). Being a dereliction fan I decided I must go and photograph it and so with camera and tripod slung over my shoulder I started to walk very carefully towards it. The terrain was quite awkward to navigate with the rocks being covered by seaweed, making it very slippery under foot and could’ve had me end up with quite a bruised bottom or worse had I not been paying attention. After about five minutes I safely reached my destination. I was so glad I made the trip out, if nothing else I would come away happy having just got these shots.

I decided that the best way to approach the subject would be to get down low and so I went about setting my tripod to its lowest position with the legs spread right out and the bottom of the centre column removed; a nice feature of my Velbon Sherpa. Although the low position was good for my composition the same could not be said for how comfortable I was, being crouched down with feet balanced precariously on the rocks trying to look through the viewfinder without putting my back out. One of those angle finder thingys would’ve been very useful indeed.

Though I could’ve got away without it I decided that I would bracket my shots, which turned out to be the right move as there was just enough exposure latitude to blow out the sky if I composed shots with mostly ground filling the frame. I could’ve used a graduated filter but I need to purchase a new adapter ring to fit my filter holder onto my Sigma. I processed all three shots you see here both normally and by using Photomatix, but comparing them side by side in Lightroom I ended up preferring the HDR versions as they seem to have a little more punch.

More to come from Birling Gap soon. Thanks for stopping by.
Edit: since posting I’ve come to the conclusion that it is more likely to be an old boiler, rather than a buoy.

Blog, HDR, Tips, Urbex

Why HDR pt2-For effect

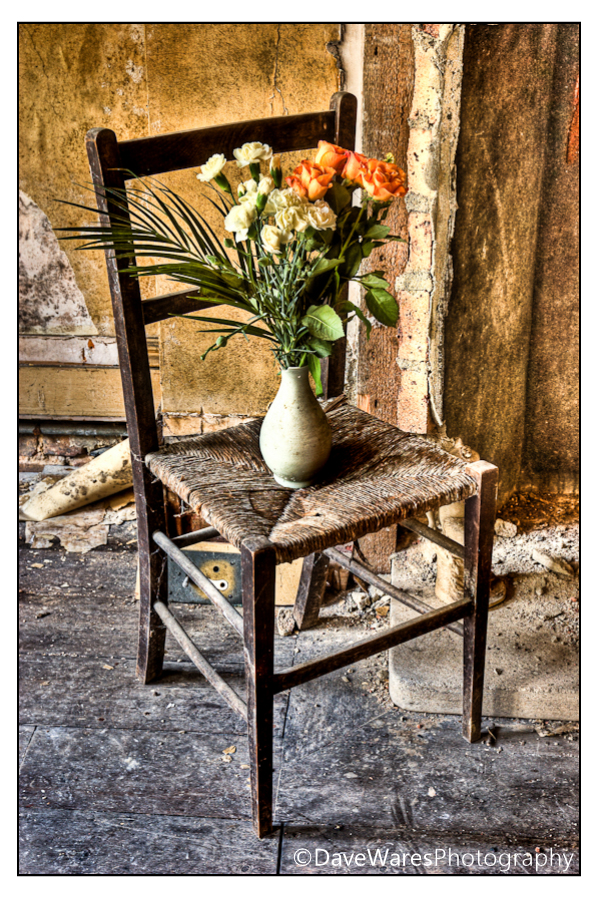
Title-‘For Vincent’

  In a previous post I showed the practical benefits of using HDR to help achieve a better representation of a scene when contrast levels exceed that of the cameras capability. This time I’ve chosen to show how you can use HDR software to give your pictures a much more painterly look.

This area of photography has come under much criticism over recent years and I for one have become rather fed up with it as ultimately is all rather pointless, in fact the argument doesn’t differ too much from what the impressionist painters went though during the 19th century, or indeed the modern artists of today. It simply comes down to this: It’s your art, do it how you want to do it. Don’t let anyone tell you any different. If it’s not your thing, fair enough, ignore it and move on.

Anyhow, let continue…

As explained previously, you will ideally still be bracketing your exposures when out shooting, but you can create this look by making a pseudo HDR image out of one shot if there is a good tonal range running throughout. The difference between making a picture look realistic or painterly has a lot to do with how you set the smoothness slider (assuming your using Photomatix), so in this instance you’ll be wanting to set it more to the left, if not all the way to to the left. There is no hard and fast rule as to how you set all of the other sliders so it’ll be just a case or trial and error as every picture will react in slightly different ways, so play around with all of them to see what happens. For this reason it is always best to have the software reset everything when starting a new project.

In my opinion it’s still desirable to avoid getting halos, but the main objective is to get the dark and light areas to a pretty even level. So that’s really all there is to it. What you’ll end up with is something that (to me at least) looks a lot more impressionistic. This is exactly what went through my mind when I was out on an urbex shoot last year and came across this chair, it immediately screamed of  Vincent van Gogh’s Chair and I set about doing my own take with the vase of flowers.

So have fun with your photography and try something new.

Thanks for stopping by.
Blog, Landscapes, Tips

Slow that shutter

Title-‘Silk & Stone’

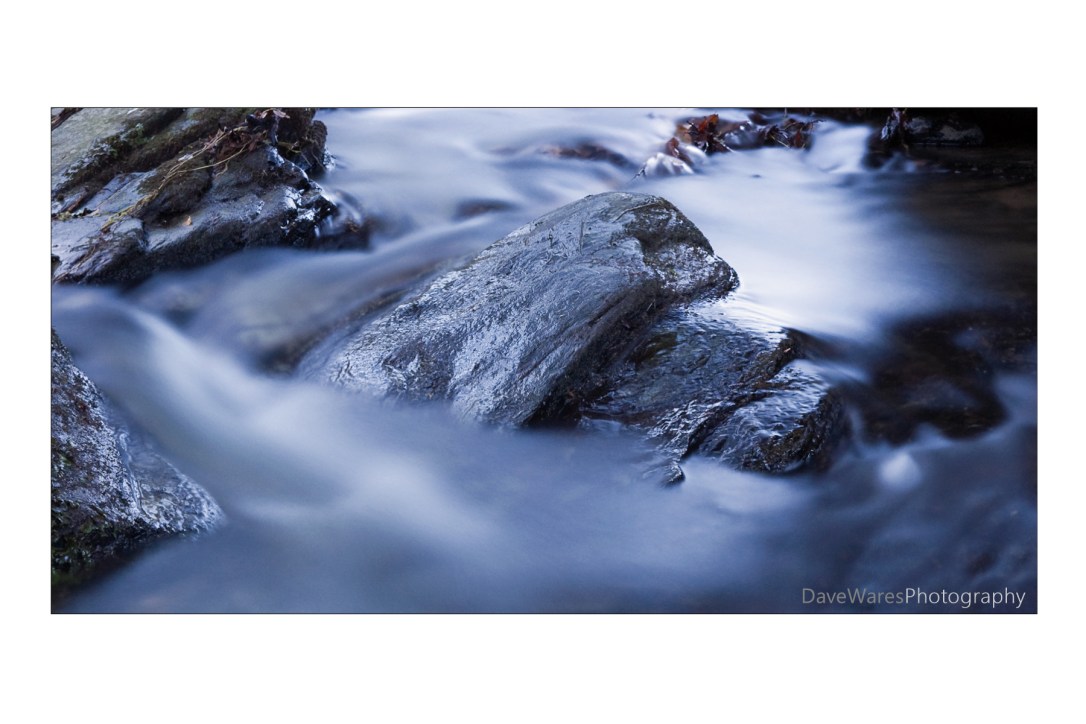
There has been a big trend in recent times for using large stop ND filters to help achieve a slower shutter speed at brighter times of the day, with the one big attraction being able to create that misty look given to water. The one thing that is much harder to get though, is the ethereal look that comes as a result of both a slower shutter and low light. Don’t get me wrong, I love misty water shots but to me the ones taken at dawn or dusk have a much greater sense of mood.

Being a common side effect of shooting water in low light means you don’t need to spend big bucks on fancy ND filters either, but whether you’re out at dawn or dusk there is one thing that you will need, and that is moving water; it’ll be no good if you’re standing by a lake with water so still it’s like looking at a mirror.

Getting that misty effect is quite straight forward; you’ll want to set the iso to it’s lowest setting such as iso100 (200 on some Nikon models), and make sure you have the camera on a tripod with either a cable or remote release. Ideally you’ll want to be aiming for a shutter speed greater than 1 second as it is at this speed that water starts to blur nicely. Your choice of f~stop is up to you but I tend to set mine between f16 and f22 to help with both depth of field and slowing the shutter further.

The picture you see above was shot with the tripod straddling across the middle of a stream, very close to the water with me trying very hard not to slip on the wet rocks. Thank goodness I had a decent pair of walking shoes on. It was taken at iso200 for 30seconds with the white balance set to sunny. Because of the time of day ( late eve) the shot has been given a very blue cast, but when I tried to correct for this in Lightroom it seemed to lose its mood, so I left it as shot.