Blog, review

Nokia Lumia 925-camera test

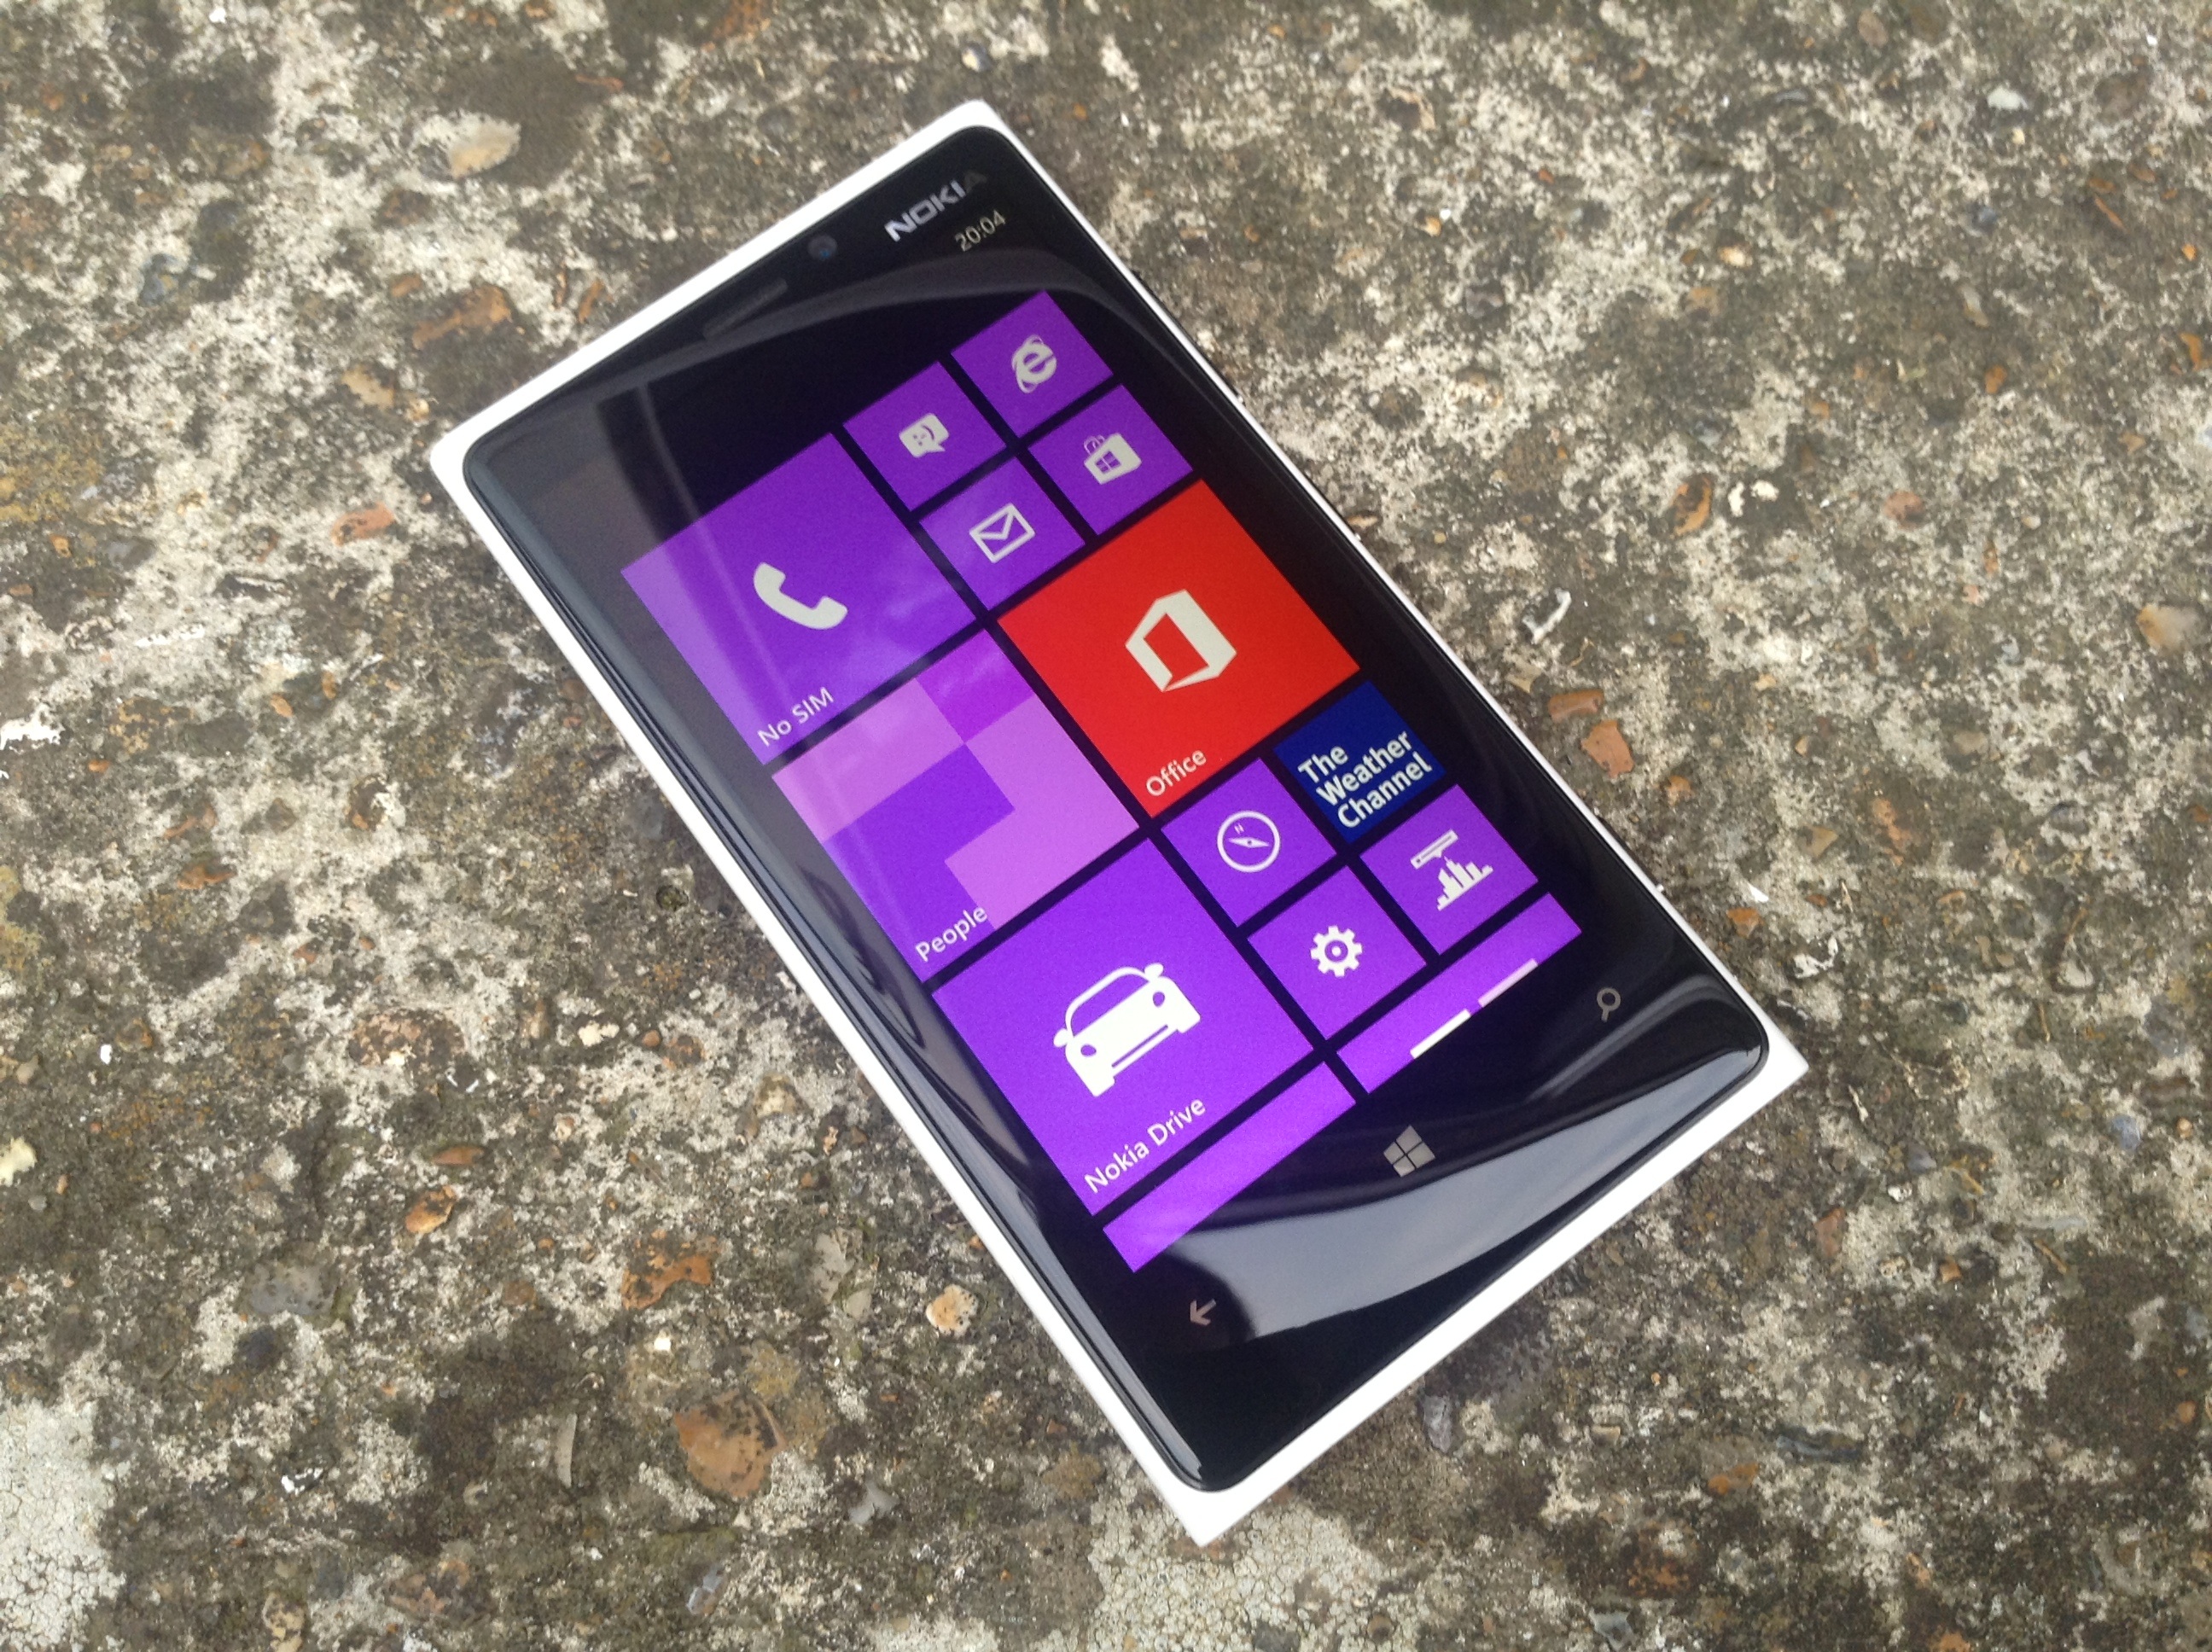
So as some if you may know, last week Nokia sent me their Lumia 920 smartphone to try out and give opinions on its camera capabilities. Today I also received a brand spanking (yes, still in its wrapper) new Lumia 925 that Nokia kindly sent me also to try out as a camera. Taking a quick look at the specs of both phones there doesn’t really seem much to separate them, even from the front they look almost identical. Flip the phones over and small differences in design are apparent. The 920 has a shiny all plastic case whereas the 925 has a metal surround and what appears to be a plastic back, however the 925 has a textured finish giving it a nicer feel. The reduced weight is another difference of the 925, and as a result the phone does feel nicer in the hand. The camera lens on the 925 is placed similarly to that of the 920 nearer the middle of the phone. I would have preferred the lens on both to have been placed nearer the top as when handling the phones normally the palm of your hand coats the lens with all manner of greasy stuff, meaning that you inevitably have to wipe the lens before taking any pics.
So as you can see there are a couple of small ergonomic changes that have happened and for the better IMO.
The next thing that will be interesting for me to see is if there have been any changes in the performance of the camera itself. Both use what I believe to be the same 8.7MP sensor and Carl Zeiss lens. (It could well be a newly developed sensor, I do not know). What is evident from having a quick play with the 925 (I’m still giving it its first battery charge) is that there are a few new features to check out. Also I noticed that the ISO now goes up to 3200 whereas the 920 only goes up to 800,so this should make a considerable difference when shooting in low light. There’s also something called the Smartcam which as far as I can gather takes a small burst of shots when you press the shutter and then gives you the option to swipe through to pick and save the best one in the series. Could be useful.
Anyway, that’s as far as I’ve got for now, next step is to start shooting with it. We’re off to Harry Potter studios for my wife’s birthday this weekend so it’ll be a great opportunity to test out the low light capabilities of Nokia’s latest flagship phone.

Thanks for stopping by.

20130702-201602.jpg

Blog, review

A day at Ightham Mote with the Nokia Lumia 920

So my wife and I decided to have a family day out at Ightham Mote, a beautiful National Trust property set in the wonderful Sussex countryside. Also, I thought, a great opportunity to test out the camera on the Nokia Lumia 920. One small problem though, I forgot to put it on charge and because I’d connected it to my home router the battery was only showing 50% left. Oh well, I took along my trusty Fuji X10 just to make sure I had everything covered.
It turned out to be a bright sunny day so the harsh lighting would certainly pose a challenge. Trying to view the screen in bright sunlight can sometimes be infuriating but the beautiful and huge screen of the Lumia was surprisingly clear and I had no real troubles using it outdoors.
Inside the house the darker rooms proved to be a bit more of a challenge as the iso only goes up to 800, even on a tiny sensor I would like to have seen it go up to at least iso1600. Despite this I still managed to get a few shots inside the house, luckily I have a very steady hand.
So there’s a couple of things that do annoy me a little, and that is the rather limited features Nokia have decided to put into the camera. First, there is no way to decouple focusing and shutter release. I like to make sure I have focus first before taking the shot but having both focus and shutter coupled together resulted in me getting a lot of shots destined for the bin. Aha I thought, enter Camera 360, a photo app I downloaded from the Windows store. It has the separated focussing and shutter I desire and also has a manual focus ability. Additionally there’s a number of cool effects that you can apply too. Now I’m not here to review the camera apps but because it had a couple of simple shooting features not found in the default camera I though it would be a good work around. Not so, upon transferring my shots to the computer I was disappointed to find the app works at a much lower resolution, around 3.1 MP! A bit of a come down from the 8.7MP you’ll get shooting the camera normally.
Still I got a few shots that I liked which you can view below.

20130630-203355.jpg

20130630-203401.jpg

20130630-203414.jpg

20130630-203407.jpg

20130630-203419.jpg

20130630-203425.jpg

Blog, review

Nokia Lumia 920 camera test first pics

So here are a few of my first pics shot with the Nokia Lumia 920. I should start by saying that I import all my pics into Lightroom but here I did minimal adjustments, in fact just a bit of contrast and a crop on the colour images and cropping only on the mono ones. The colour pics were shot using the default camera app in 16:9 aspect but to me they didn’t suit the subject so I cropped to 3:2. I converted the mono shots using the Camera 360 app which I downloaded.
I’ve uploaded the full size jpegs for you to look at and I must say that the image quality is exceptional for a phone cam. It did suffer a little in high contrast situations where it’s dynamic range just can’t match that of larger sensors, but as you can see here there’s not much to grumble about in terms of IQ at this stage.

20130628-230917.jpg

20130628-231002.jpg

20130628-230933.jpg

20130628-231012.jpg

20130628-230949.jpg

Blog, review

Nokia Lumia 920-camera test

The kind folks over at Nokia Connects recently got in touch with me asking if I’d be interested in trying out the camera feature of their new Lumia 920, the idea being that they are looking to get views from the perspective of a photographer.
The unit they sent me arrived today and I’ll have it for the next two weeks to put it through its paces. The phone is big and also runs Windows, so something for you to also consider when perhaps looking at this as a potential new phone. Unfortunately my SIM card is too big so I won’t be able to try it out as an actual phone.
It packs an 8.7MP camera with a Carl Zeiss lens (the smallest they probably do) and the initial quick snaps I took looked quite impressive, so off to a good start there. I’ll be posting the odd quick update along the way but will give my final thoughts at the end of my two week trial.
Thanks for stopping by.

image

Blog, Flora, Tips

Using the spot meter

On Most cameras these days there are at least three different options when it comes to choosing the types of light metering system you use. These are typically ‘Matrix/evaluative’, ‘Centre weighted’ and ‘Spot metering’ modes.

Usually your camera is set to the Matrix/evaluative metering out of the box and 8/10 times this usually does a pretty good job. This mode takes a reading from the entire scene and does its best to give an exposure to suit all of the elements within that scene. Centre weighted is the next option. This mode takes a reading from, as its name suggests,  the middle proportion of the frame. Old school photographers tend to like this mode, myself included, as it gives fairly predictable results. I find that it is also very useful when you are shooting nature, when the animal (such a a deer for example) will typically fill the middle part of the picture, hence using the centre weighted light meter will make sure that animal will be correctly exposed for.

Now we come on to the spot metering mode (on some Canon models I believe this can be called ‘Partial’. I’m a Nikon chap so don’t quote me on that!). This mode takes a light reading from only a very small percentage of the scene, typically 2% and on most cameras it will take the reading from where the centre focus point is. I don’t tend to use this mode too much but in certain situations it can be a real bonus. For example, you could be taking a picture of a small bird that you choose to be relatively small in the frame, and by using the spot meter you can take a reading off the bird ensuring that your main subject will be properly exposed for. You may want to use the exposure lock button found on the back of your camera if you want to recompose your image once you take the reading.

For the picture above I decided to use it to achieve a slightly different result. This flower was shot at around midday and in bright sunlight, but I noticed that there was a tree above casting its shadow around the flower, plus there was a wall behind also slightly in shadow. The sun on the flower was very bright but I knew that by choosing the spot meter mode and taking a reading from the yellow centre of the flower it would correctly expose for that keeping the detail, but also it would have the effect of darkening the rest of the flower and the shadows in the background. The scene was far brighter to look at than what you see here.

These are just a couple of examples of how to use the spot meter, I’d be interested to know what your experiences are too.

I hope this has been of some use. Thanks for reading and happy shooting.